Log Restoration and Replacement
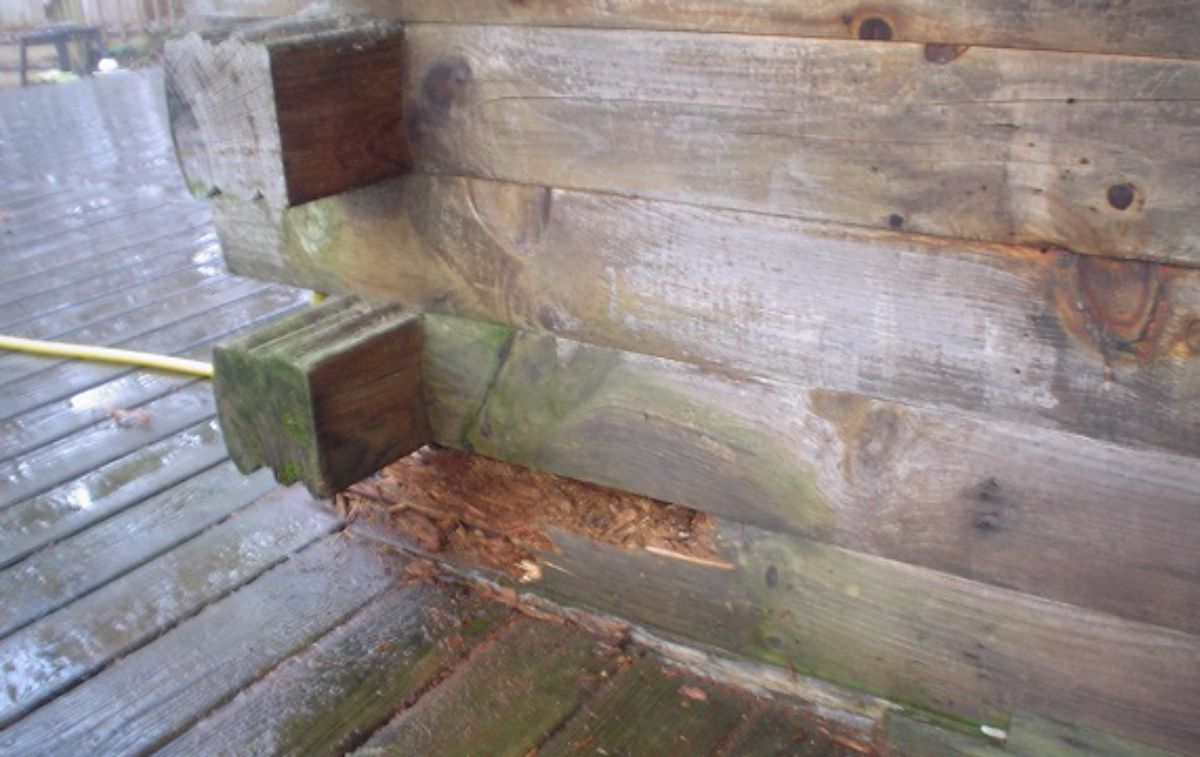
You may face a log repair job when all your efforts to preserve the logs in your cabin have failed and you’re left with a rotten log. Don’t despair – you’re not the first and many techniques have been worked out to deal with various log damage issues.
You can check if a log is rotten by shoving an ice pick into the wood. If it penetrates and easily slides in, you’ve got rot. Rot occurs when the moisture content of the wood is between 30%-60% so you first must address this problem.
Causes of Log Damage
Although it may be too late at this point, it’s a good idea to review the causes of log damage so you can understand what led to the deterioration of your log home.
More importantly, it will illustrate what needs to be done to prevent further damage and another log repair in the future. You need to address these issues before attempting any log repair or it will simply happen all over again.
We cover some of the causes of log damage in our page on log cabin restoration. It also may help to review some of the common terms you will encounter in our cabin restoration glossary page.
To quickly summarize, watch out for these problems in your log cabin design:
- Leaking gutter or down spout or no gutters to direct rain away from logs
- Paint used on the logs instead of a quality log home finish like TWP.
- Smooth, even coverage
- Superior application results
- Renews and refreshes exterior wood surfaces
- Log ends that extend past the protection of the cabin roof overhang
- Interior or exterior plumbing leak
- Poor cabin landscaping design such as vegetation or flower boxes holding moisture next to the walls
- Foundation too low allowing earth contact with logs
- Porch, deck or other outdoor room attached to the bottom log without proper spacing for water drainage
- No flashing to direct water away from bottom logs
- Termites love damp, soft wood and can cause damage over time
Preventing Log Damage
- Disodium Octaborate Tetrahydrate 98%
- TIM-BOR Professional as a liquid solution: TIM-BOR Professional liquid applications may be made to wood structures including decks, fences, steps, sheds, barns and other outbuildings. Such structures must be protected from excess rain. On wood with drier than normal moisture content, apply by brush or spray two applications of a 10% solution to wood surfaces. On wood with normal moisture content, apply by brush or spray one application of a 15% solution to wood surfaces. Application may also
- To use Tim-Bor you mix 1.5 pounds with 1 gallon of HOT water.
You can help prevent future log damage by using a water-soluble borate compound that is legal for use in the US, such as Tim-bor. This will slowly seep into the wood and prevent future rot and insect damage but it must be done before any epoxy or other wood restorative is used so that it has a chance to penetrate the wood.
Borates are water-soluble, inorganic borate salts with insecticidal and fungicidal properties that are effective against many wood-destroying organisms. Saturate the wood by brushing or spraying on the borate. If the wood is very spongy you can also inject the solution into the wood.
Log Restoration
The first thing to try with log repair is log restoration. This is a process that can strengthen the existing log and even replace the deteriorated wood cells with epoxy so that you can leave the log in place and continue to use it and depend on its structural integrity.
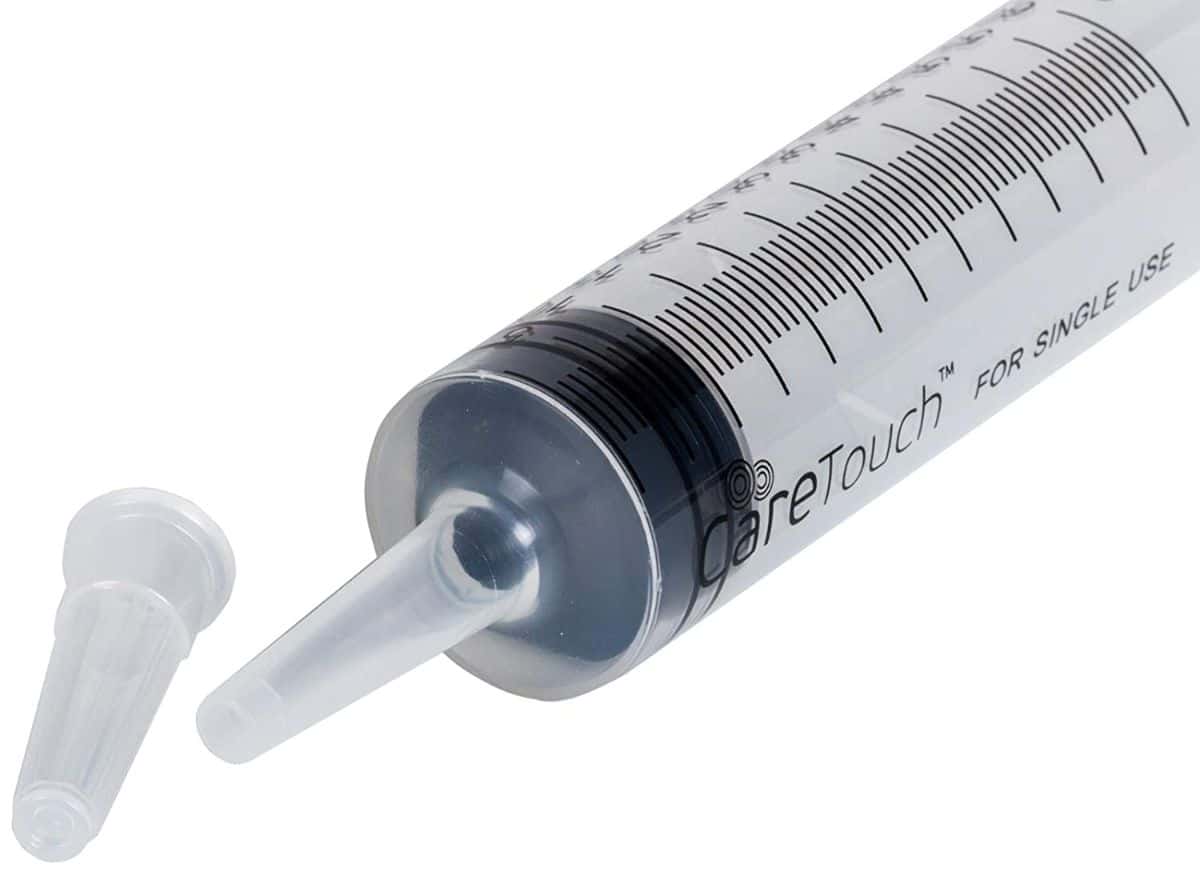
- VALUE PACK - You will receive 5 Syringes, catheter tip
- DISPOSABLE - These syringes are disposable; for one time use only
- STERILE - Each syringe is individually sealed to ensure your safety and health.
- SYRINGE ONLY - These syringes are with a catheter tip; it does NOT HAVE A NEEDLE
There are two epoxy-type products that can help you repair and restore logs. The first is a 2-part epoxy product called Liquid Wood. It is a deep-penetrating wood consolidant that restores structural strength and durability to wood fibers. To strengthen spongy areas of the wood you can drill small holes deep into the wood and inject Liquid Wood using a large, 60ml syringe.
The solution surrounds the wood cells and solidifies them, maintaining the wood structure but making it rock hard. If necessary for deeper penetration you can dilute the epoxy with acetone (up to about 10%-15% acetone) but be aware that you are sacrificing some of the strength.
If you want to repair areas of wood that have cavities from the wood rotting away, then you want to consider using Wood Epox. This is a shrink-free adhesive putty wood replacement compound. While Liquid Wood is fluid and can be used as a primer, the Wood Epox can be molded and shaped to match the log. There are a few tricks to helping this patch blend in. It will dry white so you may want to try these:
- Add some sawdust to improve color and texture
- Try adding texture using a nail before it dries
- Add some pigment to the uncured epoxy
- Paint the cured epoxy with a tan color before staining it to match the rest of the cabin.
Log Repair
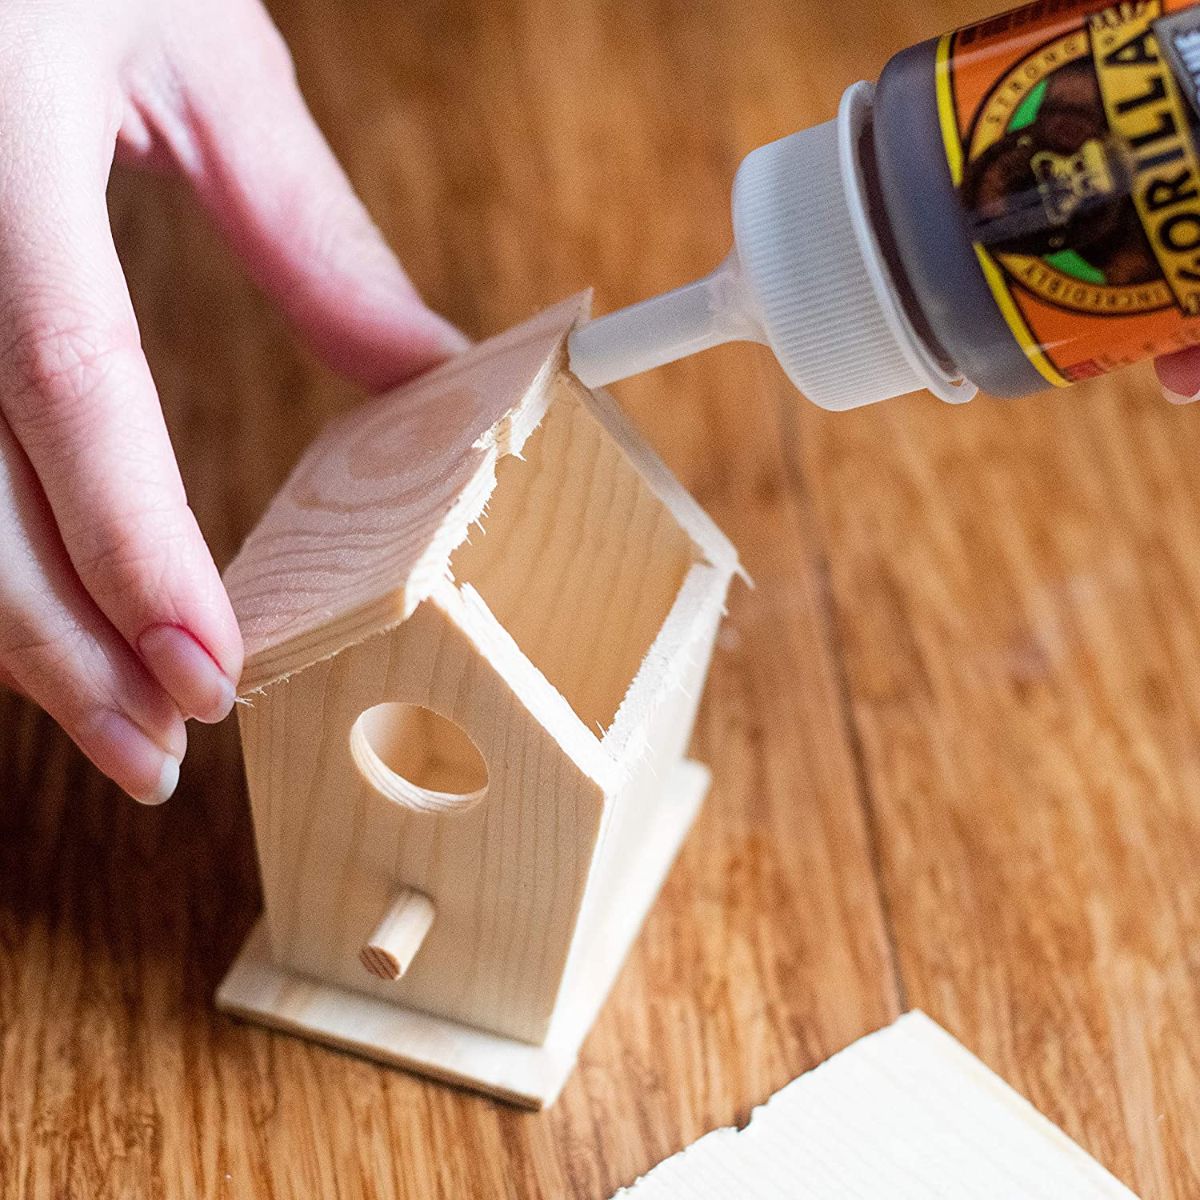
- Incredibly strong and versatile; The leading multi-purpose waterproof glue
- Best for tough repairs on dissimilar surfaces, both indoors and out
- 100% Waterproof; Doesn't break down when exposed to outdoor elements
- Versatile; Easily bonds wood, stone, metal, ceramic, foam, glass, concrete and much more!
- Incredibly Strong: Expands 3 times into the materials to form an incredibly strong bond
The next step in treating log damage is to repair the log. Sometimes it is possible to chisel away the rotten section and treat the area with wood filler. One method is to mix up a thick paste using sawdust and waterproof glue. Unfortunately, this doesn’t last very long, and won’t blend very well.
You may also try cutting away the rotten part until you get to solid wood, then use a “Dutchman” or filler piece, cut to match the sction of wood removed. Once you’ve cut away the damaged section you can insert another, shaped piece of wood that is glued and fastened into the area, then blended with stain and finish to hide it.
Log Replacement
The final step when all else fails is to replace the entire log or section of log that is rotten. This is a job best left to professionals but any log replacement would include several common steps.
One of the most susceptible parts of the log cabin is often the log ends that extend beyond the shelter of the roof. You can cut the rotten log end off and replace just the corner extension with a short piece shaped like the log end. Attach it to the existing corner by screwing upwards at an angle into the logs above. You may also attach it to the log end by countersinking several log screws, then plugging the countersunk holes with matching wood.
- Dimensions: Head Height/Width .469 - Diameter .24" - Length 2" - Use 5/16" Hex Head Bit
- These screws are a far superior alternative to spikes for greater holding power.
- Manufactured from high quality heat treated steel and are ACQ treated lumber compatible
- The black log screw coating passed the 1000 hour salt spray tests without failure
- Black Log Timber/Landscaping Screws Have Drag Reducing Knurled Shoulders for Easier Installation
Typically the bottom logs, or sill logs, on the cabin are the ones that rot. These are exposed to water from splashback, poor landscaping and leaky or non-existent gutters and generally incur the most damage from rot.
Replacing entire logs involves supporting the remaining logs above the rotten log. This may involve cutting a slot in the rotten log and inserting a wooden beam or steel plate that can be supported on both sides of the wall. Adding a hydraulic jack under one side allows you to take the weight of the log wall above the damaged log by jacking up very slightly. This will support the wall while you remove the rotten part.
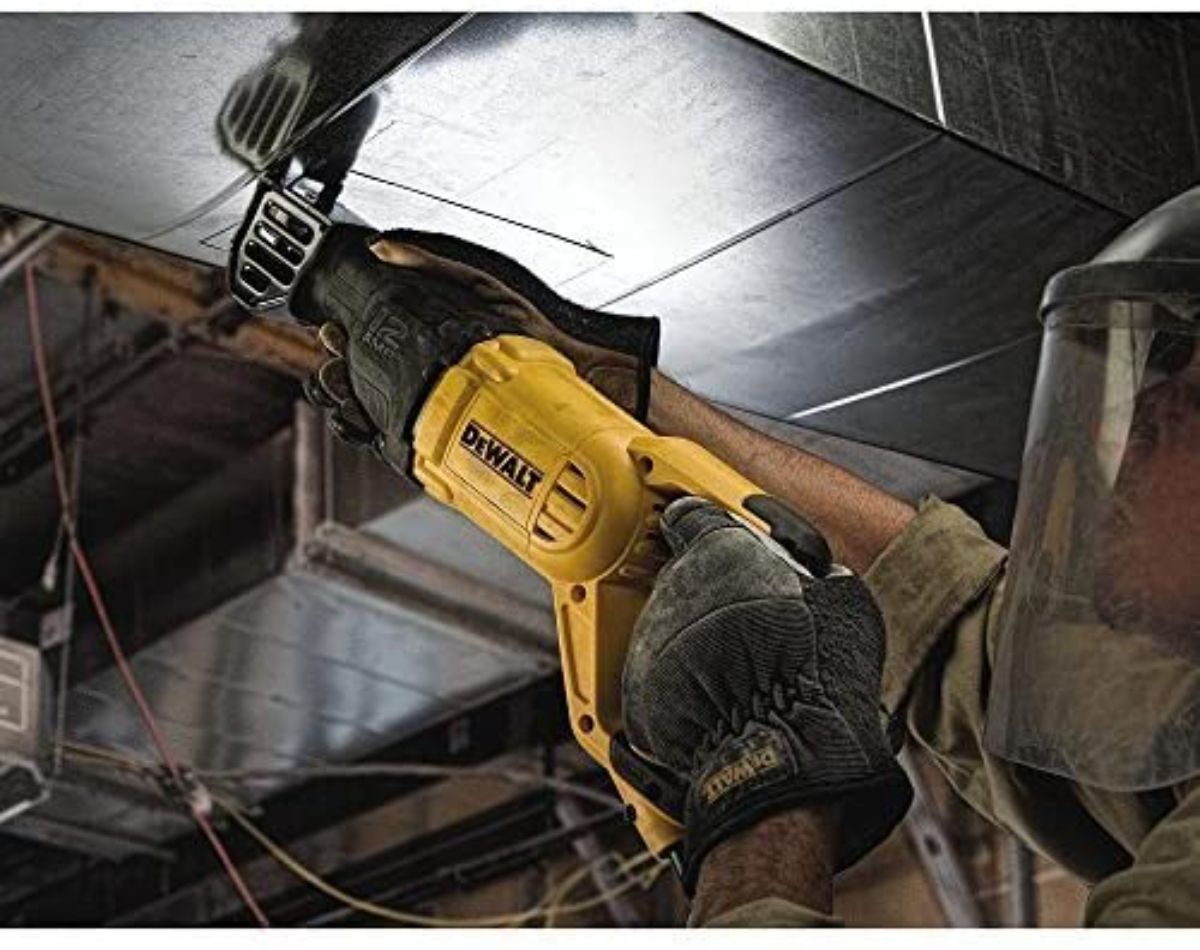
- Powerful 12 amp motor of the reciprocating saw is designed for heavy-duty applications
- 4-position blade clamp allows for flush cutting and increased versatility
- Keyless, lever-action blade clamp for quick and easy blade changes
- 0-2,900 SPM and 1-1/8-inch stroke length for fast and efficient cutting
- Variable speed trigger allows user to instantly control speed
Next you can cut away the rotten log using a reciprocating saw and chisels, being especially careful to use a metal-cutting blade to cut the log fasteners holding it in position. Log fasteners may be log screws, wooden pins, threaded rod or nails.
Cut, scribe and insert the new log into position, removing tongues as necessary to fit it in place. Careful use of caulk, chinking and fasteners will result in a replacement you can hardly see. Use a log style and species that will closely match the existing logs.
Countersink and plug holes for log screws. I recommend you use a 1" forstner bit for a clean, flat countersink hole, then plug the hole with a section of 1" dowel.
These techniques can help you address the problems of log damage, rotten logs, log repair and log replacement. Oftentimes a combination of all of these may be called for. Be sure to address the underlying causes and correct these before attempting any repair or you will be facing another log repair job in the future.
More Cabin Restoration Pages:
How to Renovate a Heritage Log Cabin Interior - DIY Style See how one family learned how to renovate a heritage log cabin interior - DIY style in British Columbia.
Restoring a Heritage Log Cabin Read this account of restoring a heritage log cabin as a labour of love in British Columbia.
Cabin Repair - An Introduction to the Causes of Log Home Deterioration Cabin repair can be a major task if regular log home maintenance has been neglected.
Cabin Restoration Tips to Make Your Log Home Look New Again Use these cabin restoration tips to protect and preserve your log home investment.
Cabin Restoration Glossary – A Lexicon of Log Home Repair This cabin restoration glossary provides a lexicon of terms used in log home repair, cabin rehab and log home preservation to help you understand the concepts of cabin restoration.



Leave a Reply